Blogs Integrating GraphQL with Django: A Comprehensive Guide
Integrating GraphQL with Django: A Comprehensive Guide
Discover how to enhance your Django applications with GraphQL. This guide provides step-by-step instructions on integrating GraphQL, improving API performance and flexibility.
In the evolving world of web development, efficiency and speed are paramount. That's where GraphQL comes into play, especially when integrated with a powerful web framework like Django. This blog post will explore why GraphQL is a game-changer for developers, how it complements Django, and provide a detailed guide on how to implement GraphQL in your Django projects.
Why GraphQL?
GraphQL is a query language for your API, and a server-side runtime for executing queries by using a type system you define for your data. Unlike REST, which requires loading from multiple URLs, GraphQL APIs get all the data your app needs in a single request. Apps using GraphQL can be quick even on slow mobile network connections.
Key Features of GraphQL
Efficient Data Retrieval: Clients have the control to request exactly what they need, nothing more, nothing less.
Strongly Typed: Every GraphQL API conforms to a specific schema, which means you can validate queries against the schema.
Single Endpoint: GraphQL uses a single endpoint which simplifies the process of API development and maintenance.
Integrating GraphQL with Django
Django, a high-level Python web framework, facilitates rapid development and pragmatic design. Pairing it with GraphQL offers a robust solution for building scalable and maintainable web applications.
Prerequisites
Before integrating GraphQL with Django, ensure you have the following:
Python installed on your system
Django project set up
Basic understanding of Django and Python
Step-by-Step Integration
Step 1: Install Graphene-Django
Graphene-Django provides tools for integrating GraphQL into a Django project. Install it using pip:
pip install graphene-django
Step 2: Configure GraphQL in Django
Add graphene_django to the INSTALLED_APPS in your Django settings file:
define your Django models. For instance, let’s consider our blog application consists of User model
from django.contrib.auth.models import AbstractBaseUser, BaseUserManager
from django.utils.translation import gettext as _
from django.db import models

class CustomUserManager(BaseUserManager):
    def create_user(self, email, password=None, **extra_fields):
        if not email:
            raise ValueError("The email field must be set")
        user = self.model(email=email, **extra_fields)
        user.set_password(password)
        user.save(using=self._db)
        return user

    def create_superuser(self, email, password=None, **extra_fields):
        extra_fields.setdefault("is_staff", True)
        extra_fields.setdefault("is_superuser", True)

        if extra_fields.get("is_staff") is not True:
            raise ValueError("Superuser must have is_staff=True.")
        if extra_fields.get("is_superuser") is not True:
            raise ValueError("Superuser must have is_superuser=True.")

        return self.create_user(email, password, **extra_fields)

    def get_queryset(self):
        queryset = super().get_queryset().order_by('-created_at')
        return queryset


class User(AbstractBaseUser):
    name = models.CharField(_("user name"), max_length=255)
    phone = models.CharField(_("phone number"), max_length=20)
    email = models.EmailField(_("email"), max_length=255, unique=True)
    is_staff = models.BooleanField(default=False)
    is_superuser = models.BooleanField(default=False)
    created_at = models.DateTimeField(_("created at"), auto_now_add=True)
    updated_at = models.DateTimeField(_("updated at"), auto_now=True)

    USERNAME_FIELD = "email"

    objects = CustomUserManager()

    class Meta:
        db_table = "users"
        verbose_name = "User"
        verbose_name_plural = "Users"

    def __str__(self) -> str:
        return self.name
Create a new file schema.py in one of your apps or in a new app dedicated to GraphQL configurations. Define your types and queries:
import graphene
from graphene_django import DjangoObjectType
from main.models import User


class UserType(DjangoObjectType):
    class Meta:
        model = User
        fields = "__all__"


class CreateUser(graphene.Mutation):
    user = graphene.Field(UserType)

    class Arguments:
        name = graphene.String(required=True)
        phone = graphene.String(required=True)
        email = graphene.String(required=True)
        password = graphene.String(required=True)
        is_staff = graphene.Boolean()
        is_superuser = graphene.Boolean()

    def mutate(self, info, name, email, phone, password, is_superuser=False, is_staff=True):
        user = User.objects.create_user(
            name=name,
            email=email,
            password=password,
            is_superuser=is_superuser,
            is_staff=is_staff
        )

        if hasattr(user, 'phone'):
            user.phone = phone
            user.save()

        return CreateUser(user=user)


class UpdateUser(graphene.Mutation):
    user = graphene.Field(UserType)

    class Arguments:
        id = graphene.ID(required=True)
        name = graphene.String()
        phone = graphene.String()
        email = graphene.String()
        password = graphene.String()
        is_staff = graphene.Boolean()
        is_superuser = graphene.Boolean()

    def mutate(self, info, id, name=None, email=None, phone=None, password=None, is_superuser=None, is_staff=None):
        try:
            user = User.objects.get(pk=id)
        except User.DoesNotExist:
            raise Exception("User not found")

        if name is not None:
            user.name = name
        if email is not None:
            user.email = email
        if phone is not None:
            user.phone = phone
        if password is not None:
            user.set_password(password)  # Use set_password to hash the password
        if is_superuser is not None:
            user.is_superuser = is_superuser
        if is_staff is not None:
            user.is_staff = is_staff

        user.save()
        return UpdateUser(user=user)


class DeleteUser(graphene.Mutation):
    success = graphene.Boolean()

    class Arguments:
        id = graphene.ID(required=True)

    def mutate(self, info, id):
        try:
            user = User.objects.get(pk=id)
        except User.DoesNotExist:
            raise Exception("User not found")

        user.delete()
        return DeleteUser(success=True)


class Query(graphene.ObjectType):
    user = graphene.Field(UserType, id=graphene.ID(required=True))
    users = graphene.List(UserType)

    def resolve_user(self, info, id):
        try:
            return User.objects.get(pk=id)
        except User.DoesNotExist:
            raise Exception("User not found")

    def resolve_users(self, info):
        return User.objects.all()


class Mutation(graphene.ObjectType):
    create_user = CreateUser.Field()  # Updated to snake_case
    update_user = UpdateUser.Field()  # Updated to snake_case
    delete_user = DeleteUser.Field()  # Updated to snake_case


schema = graphene.Schema(query=Query, mutation=Mutation)
Step 4: Set Up the GraphQL URL
In your project’s urls.py, add a route to the GraphQL view:
from django.urls import path
from graphene_django.views import GraphQLView

urlpatterns = [
    path("graphql", GraphQLView.as_view(graphiql=True, schema=schema)),
]
Step 5: Test Your GraphQL API
Use the GraphiQL interface (accessible from your browser at http://localhost:8000/graphql) to test your queries.
Integrating GraphQL with Django not only enhances the performance of your applications but also improves the developer experience with more structured and predictable data access. By following the steps outlined above, you can set up a powerful GraphQL API in your Django project, ensuring efficient data fetching and manipulation. Embrace the power of GraphQL in Django and take your web applications to the next level!
Remember, the world of web development is constantly evolving, and staying updated with the latest technologies like GraphQL will keep you ahead in the game. Happy coding!
I’m a skilled backend developer with 2+ years of experience in Python, Django, Flask, and API development. He has worked on impactful projects like Famepilot, excelling in building scalable APIs, Celery tasks, and database optimization. Proficient in cloud deployments using Docker and Nginx, Shubham also specializes in automation and data scraping. He is passionate about delivering innovative, efficient solutions to complex challenges.
CliniOps ePRO is a remote patient monitoring and health reporting application that enables seamless communication between patients and healthcare providers. Designed to enhance patient engagement, the app allows users to report health outcomes remotely through their smartphones and tablets. With hardware integration for vital tracking, real-time data collection, and video consultations via Vonage, CliniOps ePRO ensures a comprehensive and efficient healthcare experience.
The app features dynamic UI components that adapt based on real-time API responses, ensuring a personalized and user-friendly experience for every patient. Whether it’s tracking temperature, blood pressure (BP), or other vital signs, CliniOps ePRO empowers healthcare professionals with accurate, real-time health data for better decision-making.
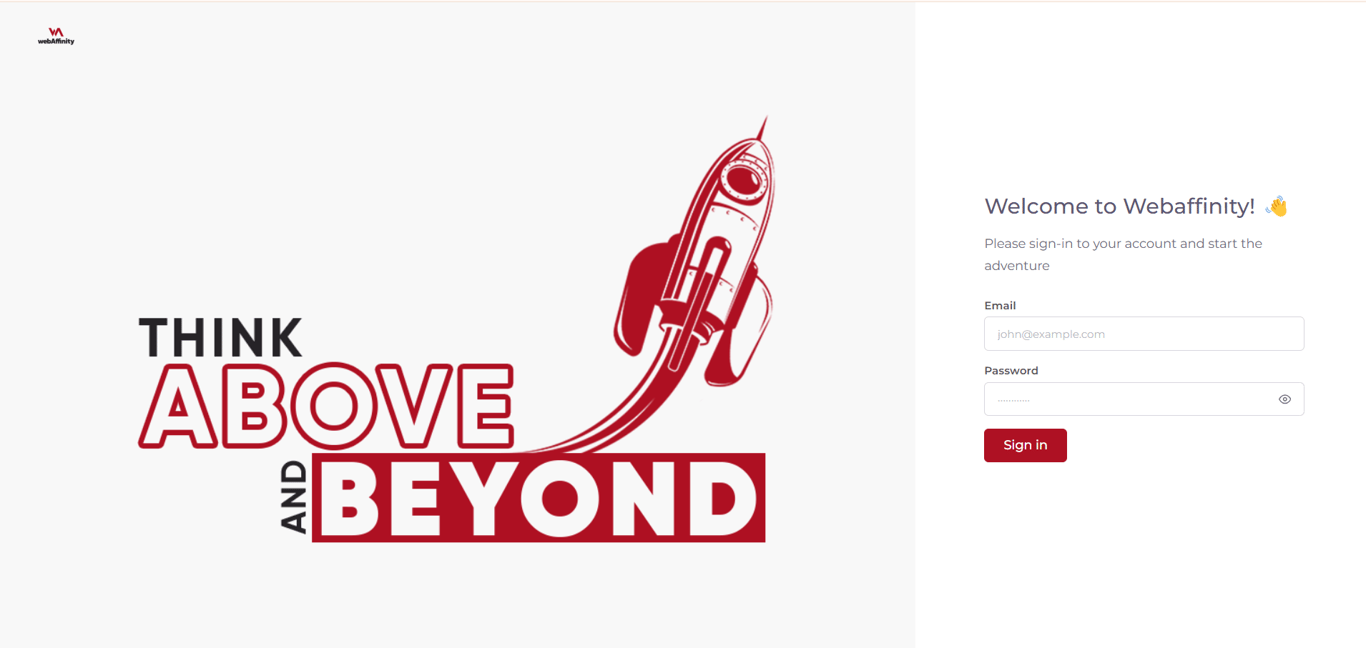
WebAffinity is an innovative solution designed to streamline the creation and management of blog content directly on WordPress platforms. This project integrates advanced AI technology to automate the generation, validation, and posting of blog articles, either individually or in bulk via CSV uploads. The system provides a robust framework for users to efficiently manage blog content, ensuring high-quality posts with minimal manual intervention. The significance of WebAffinity lies in its ability to save time, reduce human error, and enhance the digital content strategy for users and businesses alike.
Django is one of the most popular web frameworks for Python, providing developers with a robust and scalable platform for building web applications. If you're new to Django or looking to set up a new project, this guide will walk you through the process step by step.


 Made with Bullet